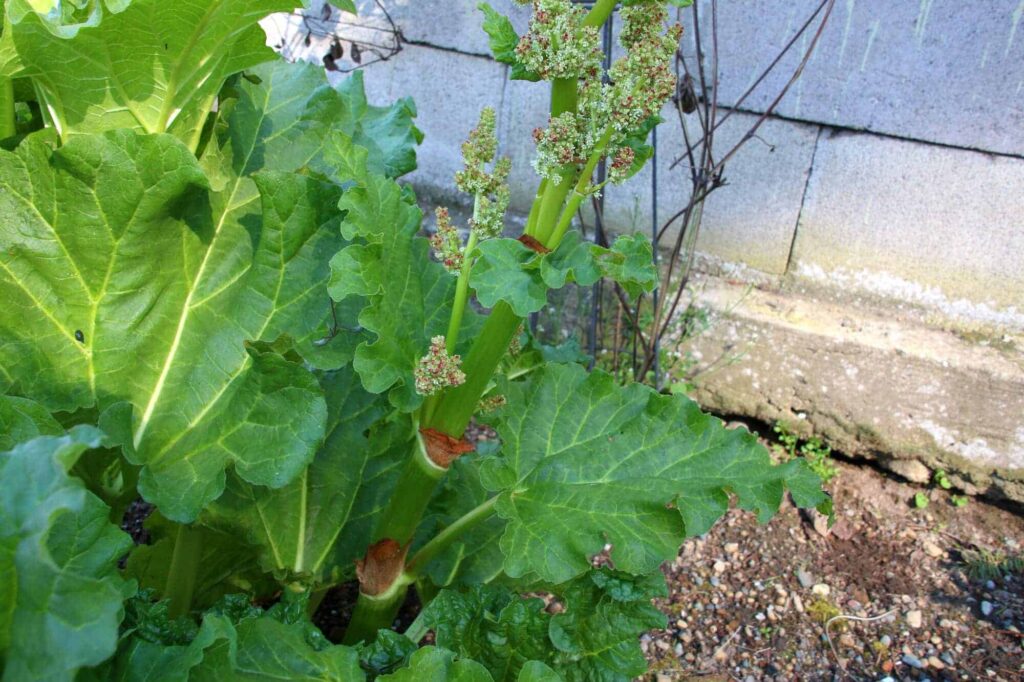
This week in the garden (May 1st) is starting out pleasantly after the rainfall. There have been several questions lately about rhubarb bolting so early this season. What you’re seeing is the plant sending up seed stalks, and it’s mainly due to the swings in weather. It was those warm days followed by a quick return to cooler temps. It’s pretty common. The fix is simple: just go out and cut those flower stalks off right at the base of the plant. That helps the plant put its energy back into producing those nice, thick stalks you want to harvest. While you’re at it, giving the plant a boost with a bag of manure or some compost worked in around it will go a long way.
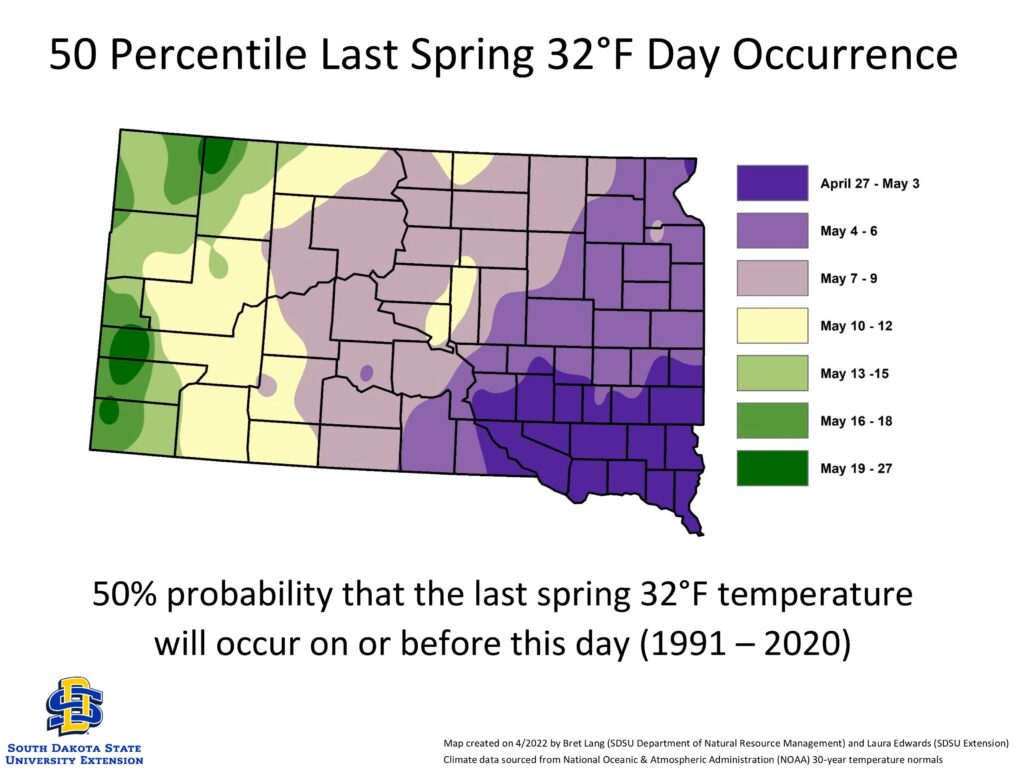
As for planting season, our average last frost date around here is May 8th. That doesn’t mean you’re completely in the clear—it just means there’s less than a 50% chance of a hard frost after that point. There’s still always a bit of a gamble, especially in South Dakota. So, if you’re itching to plant early, just know you’re rolling the dice a little before planting in the garden.
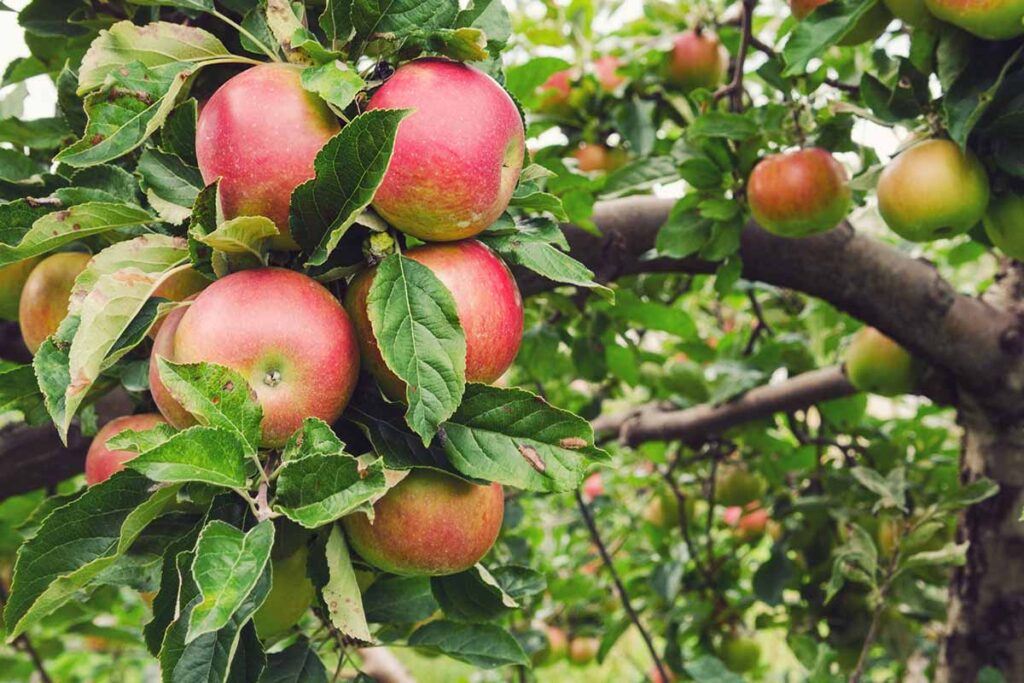
Apple trees are a great fit for this area, as long as you choose varieties that can handle our cold winters and the occasional late spring frost. Some of the most reliable options come out of the Upper Midwest, things like Honeycrisp, Haralson, Prairie Magic, and State Fair. These have proven they can take the cold and still produce good fruit year after year.
If your place is more exposed—out in the open with wind or in a colder pocket, it’s usually better to lean toward the tougher, more dependable trees like Haralson or Prairie Magic. They may not get as much attention as Honeycrisp, but they tend to show up and produce consistently. Some folks also like to include a crabapple, such as Dolgo crabapple. They’re extremely hardy and do a great job helping with pollination.
That brings up an important point, apple trees aren’t like sour cherries. Most apples are not self-pollinating, so if you want fruit, you’ll need at least two different varieties. They should bloom around the same time so bees can move pollen between them. An easy setup is two different apple varieties, or even one apple tree paired with a crabapple nearby.
So, the bottom line is this: apples grow well here if you pick the right varieties. You’ll want more than one tree to make it work. Once they’re established, they’re a rewarding addition and don’t require anything too complicated. Give them a decent spot with good sunlight and a little protection from the wind.
Each week, we’ll pick a different fruit tree and give a quick, practical rundown to help you decide what might work best in your yard, garden, or acreage.