Starting Seeds Indoors

Starting seeds indoors is a great way to get a head start on the growing season. With a simple setup and a little care, you can grow strong, healthy plants before moving them outside.

First, choose your containers. I use plastic seed trays. Some use old baking pans, clay pots, or such. Just make sure they have drainage holes. Fill them with a light, well-draining seed-starting mix, which helps seeds germinate easily.

Next, plant your seeds according to the instructions on the packet. A general rule is to plant them about twice as deep as their size. After planting, gently water the soil with water to keep it moist but not overly wet. I place the trays in water and let them soak up from the bottom, so I do not disturb the seeds by watering over the top of the seeds.

To maintain humidity, cover the containers with plastic wrap or a humidity dome until the seeds sprout. Most seeds need warmth to germinate, so keeping them in a warm spot (65-75°F) or using a heat mat can speed up the process.

Once the seeds sprout, remove the cover and place the seedlings in bright light. A sunny south-facing window works, but if you don’t get enough natural light, use grow lights for 12-16 hours a day. Keep the lights close to the seedlings (about 2-4 inches above) to prevent leggy growth.

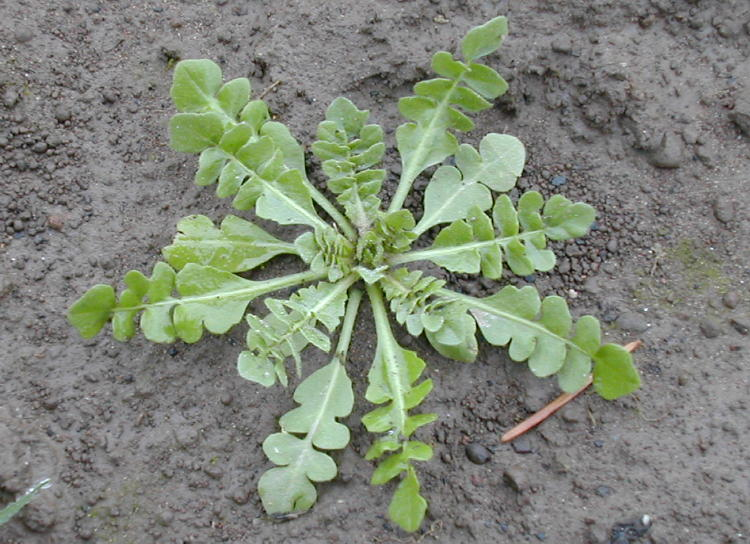
Water your seedlings carefully, keeping the soil evenly moist but not soggy. As they grow, you may need to thin them out, snipping weaker ones so the strongest plants have room to thrive or transplant them into another container after they get their true (adult) leaves.

For vine crops, I sow a few seeds into a 4 inch peat pot and plant the entire pot into the garden.

Flipping through Seed Catalogs

Every winter, when my garden is just a sad, frozen patch of dirt, I like to curl up with a hot drink and flipping through seed catalogs. There’s something magical about those glossy pages promising lush tomatoes, towering sunflowers, and exotic melons you’ve never heard of but suddenly NEED to grow.

Every page was filled with “must-haves,” and before I knew it, I had circled half the catalog. Instead of narrowing it down like a reasonable person, I convinced myself that I could totally plant everything. A garden bursting with rare vegetables? Why not! A 10-foot-tall corn variety? Obviously! How about a type of zucchini that is so big it is described as “legendary”? Sign me up!

I placed my massive order and eagerly awaited my seeds, dreaming of my future jungle of homegrown produce. Now the seeds have been coming every day.

Then, reality hit. The catalog photos hadn’t fully prepared me for just how many seeds I had ordered. I had somehow ended up with enough seeds to feed a small village.

The most important thing to learn in ordering seeds, especially online, is to whittle down that list several times.

Here is a brief list of when the seeds need to be planted indoors before planting outdoors:

Vegetables

  • Tomatoes – 6–8 weeks before last frost
  • Peppers (bell, hot, etc.) – 8–10 weeks before last frost
  • Broccoli & Cauliflower – 6–8 weeks before last frost
  • Lettuce – 4–6 weeks before last frost
  • Cabbage – 6–8 weeks before last frost
  • Onions – 10–12 weeks before last frost
  • Pumpkins & Squash – 3–4 weeks before last frost
  • Cucumbers – 3–4 weeks before last frost
  • Melons (watermelon, cantaloupe) – 3–4 weeks before last frost

Flowers

  • Marigolds – 6–8 weeks before last frost
  • Petunias – 10–12 weeks before last frost
  • Zinnias – 4–6 weeks before last frost
  • Sunflowers – 2–4 weeks before last frost

In Winner, South Dakota, the average last frost date—when temperatures last drop to 32°F—is typically May 15th.

I have planted onions and cabbage, which are cold tolerant in the garden at the end of April, but wait till after mid-May for the warm season vine crops.

How Hard Can it Be

Heard a story of a person who decided to install a ceiling fan all by himself because “how hard can it be?” He confidently told everyone he watched a YouTube video, so naturally, he was now a certified electrician.

Step one went well—he managed to remove the old light fixture. Step two? Well, that’s where things got interesting. While wiring the new fan, he “forgot” to turn off the power. Cue the inevitable zap, a yelp that sounded like a startled cat, and a spectacular drop of every tool in his hand.

But he pressed on! Fan finally installed, he flipped the switch, and—success! The fan started spinning! Too bad he didn’t check the clearance. The very first rotation of the fan blades shredded the top of his prized “lucky hat,” sending bits of fabric flying around the room like confetti.

The kicker? He said, “It’s okay, the hat took one for the team,” while the fan wobbled so violently it looked like it was trying to escape the ceiling.

A professional eventually came in and fixed the disaster—for double the original cost. But hey, the man learned a valuable lesson: DIY doesn’t always mean “Do It Yourself.” Sometimes, it’s “Don’t Injure Yourself.”