Eastertime always brings to mind coloring Easter eggs with food coloring with my mother. She would hard-boil the eggs and cool them. Then in a bowl pour in ½ cup of boiling water, ½ teaspoon of white vinegar, and 10 drops of food coloring (you can also mix the food coloring for different colors). Place the egg into the colored water for 5 minutes then remove. Dry on paper towels. By using a little glue after coloring the egg, roll in different colors of glitter.
I remember taking a wax pen and making designs on the egg before placing them in the coloring. The waxed area does not retain the color. Remove the wax by holding the egg over a light bulb or candle.
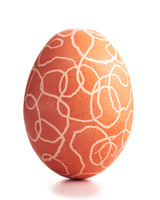
You can use rubber bands on the eggs, then into the dye, and once dried remove the bands.
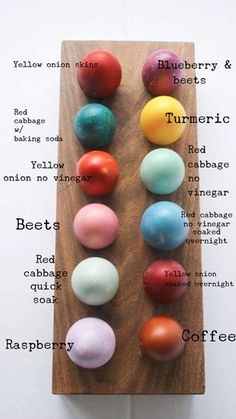
If you want to go back to colonial times, use vegetables without vinegar for the dye. Beets for pink, yellow onion skins for orange, turmeric for yellow, etc.
If you place a teaspoon of olive oil in the bowl and swirl the water then place the egg, you will get a tie-dye effect.

You can also use whipped cream or shaving cream Soak the eggs in the vinegar/water mix for a few minutes. Spread the whipped cream out, placing food coloring on the top with drops or swirls, and lightly mix in. Roll the eggs in this mix letting them sit for 15 minutes and wash the cream off.

If you do not want the mess, wrap the eggs with various colors of twine. Applying washi masking tape which is craft tape coming in any color imaginable.
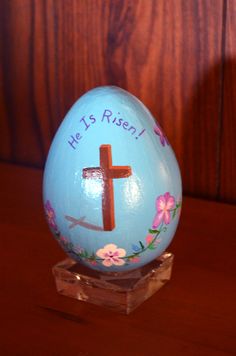
The Easter Egg symbolized rebirth, so the monks used this symbol to teach the Easter story. Eggs were painted red to symbolize Christ’s Passion. Early monks decorated the eggs with the Passion story and hid the eggs so the children could find them. Then the kids would tell the story of the design of their egg.


