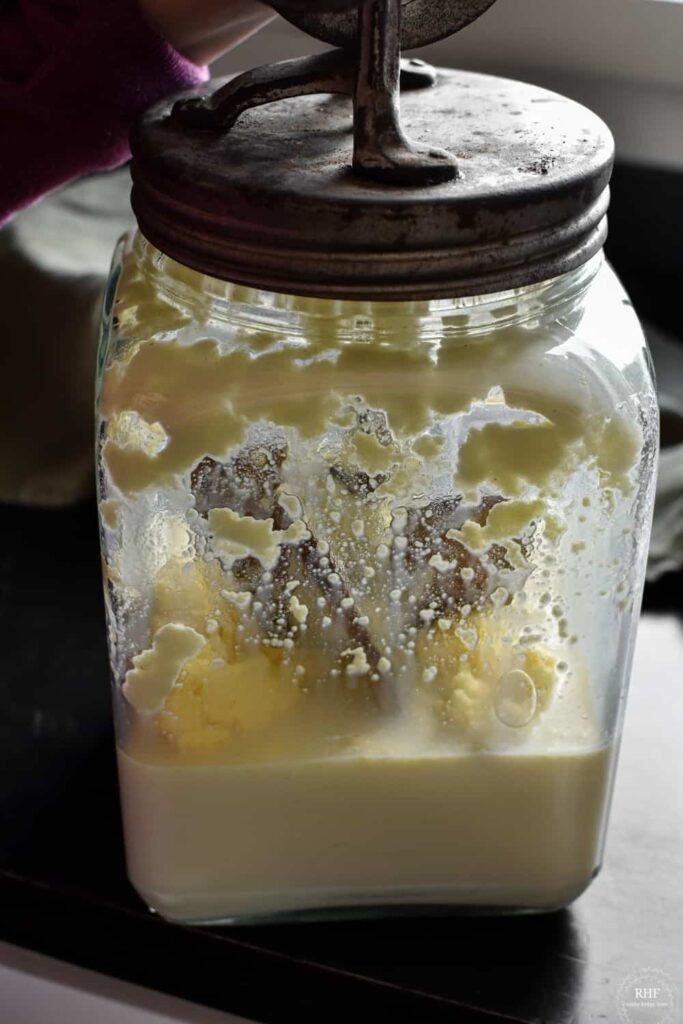
Making butter at home is surprisingly simple and really satisfying! All you need is some heavy cream—and maybe a pinch of salt if you want salted butter. Start by pouring the cream into a mixing bowl, blender, or food processor.

If you want a workout and have an old butter churn use this. Just don’t fill it up too much because the cream will expand as you whip it. Now, whip the cream at medium-high speed. At first, it’ll turn into whipped cream (which is already pretty tempting to stop at!), but keep going. After a few minutes, you’ll see it separate into a liquid (buttermilk) and solid butter. That’s when you know it’s ready.
Once it separates, you’ll need to strain it. Just pour the whole thing through a strainer or cheesecloth to collect the buttermilk. By the way, you can totally save that buttermilk for baking—it’s great for pancakes or biscuits! Now, take the butter and rinse it under cold water. Gently knead it with your hands or a spatula while rinsing until the water runs clear. This step is important because it removes any leftover buttermilk, which helps your butter stay fresh longer.
Here’s the fun part: flavoring! If you like salted butter, sprinkle in a pinch of salt and mix it in. Or, if you’re feeling adventurous, you can add herbs, garlic, or even a touch of honey for something extra special. Once you’re happy with it, shape your butter into a ball or press it into a container. Pop it in the fridge, and it’ll keep for about a week or two—or freeze it if you want to save it for later.
And that’s it! You’ve made your own butter without the coloring and preservatives. It’s fresh, delicious, and feels like such an accomplishment. Plus, it’s always fun to share with family or friends—they’ll be impressed, I promise!
